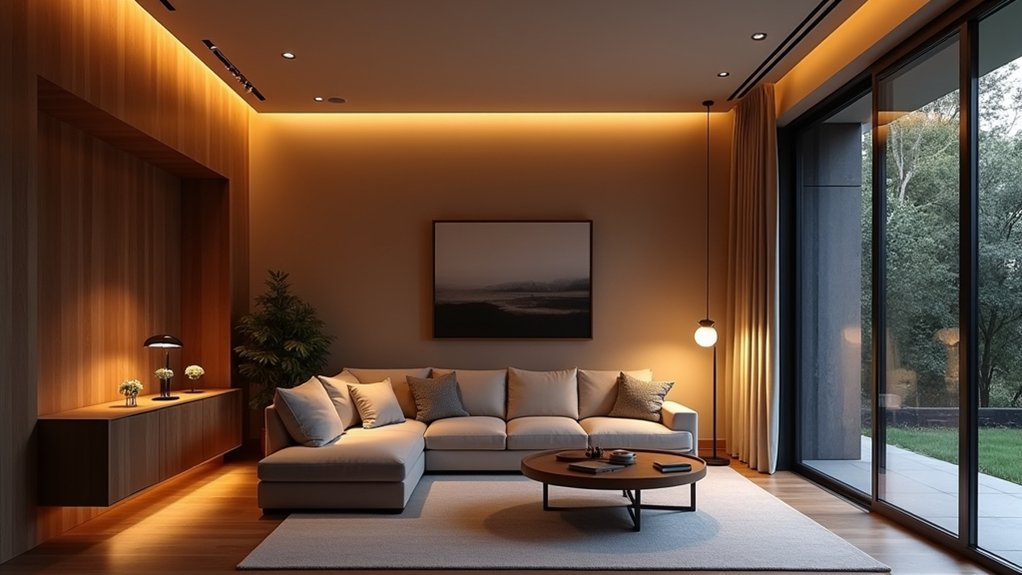
A well-planned layered lighting scheme uses three layers: ambient, task, and accent. When you rely on only one, a room can feel flat or leave work areas poorly lit. Layering lets you control overall brightness, direct light where you need it, and highlight features that deserve attention. The right mix depends on the room, its activities, and your fixtures—and a few practical choices can make the difference.
Key Takeaways
- Combine ambient, task, and accent lighting to create balanced rooms that feel functional, comfortable, and visually interesting.
- Build an even ambient foundation with ceiling, recessed, or indirect fixtures, choosing warm or cool color temperatures to suit the room.
- Add focused task lights at desks, counters, and reading areas, positioning them to limit shadows and glare.
- Use discreet, adjustable accent lights to highlight architectural details, varying beam width and angle to reveal texture.
- Add compatible dimmers or smart controls so each layer can be adjusted independently for different activities and moods.
Learn the Three Lighting Layers
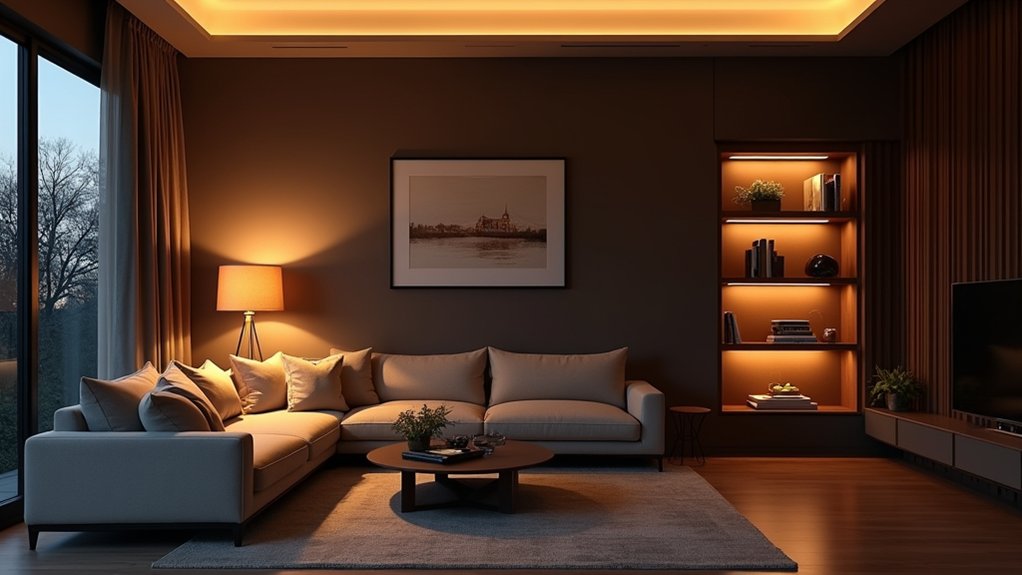
To build balanced room lighting, use three layers: ambient light for overall visibility, task light for focused activities, and accent light to highlight features. Treat these layers as separate functions, even when one fixture serves more than one purpose.
You’ll use task lighting where you read, cook, or work. Aim its beam at the activity, and limit glare on screens and reflective surfaces.
Add accent lighting to draw attention to artwork, shelving, or architectural details. Adjust its angle and intensity to create clear color contrast without washing out the feature.
Consider light distribution across the space: overlapping beams can reduce harsh shadows, while deliberate variation adds depth. Use dimmers or separate switches to control each layer independently. This lets you adapt the room’s visual balance to different tasks and moods.
Choose Ambient Lighting for the Whole Room
Set the room’s overall glow with ambient lighting that reaches every area evenly.
Choose a color temperature that suits the room’s function and finishes.
Layer ceiling fixtures with lamps or indirect sources to reduce shadows and improve coverage.
Set the Overall Glow
Start with ambient lighting to establish a comfortable, even level of illumination throughout the room. You can use ceiling fixtures, recessed lights, or indirect light reflected off walls and ceilings. Choose a layout that distributes light across the floor plan, rather than concentrating it in one spot.
Check for ambient shadows behind furniture and in corners; adjust fixture placement or add sources to soften dark areas without creating glare.
Plan lighting zones around how you use the room. Put fixtures on separate switches or dimmers so you can control the overall glow and reduce output when full illumination isn’t needed.
In a large space, combine several appropriately spaced sources instead of relying on one bright fixture. Aim for consistent coverage, then leave focused tasks and decorative accents to other layers.
Test the setup from seated and standing positions.
Choose a Color Temperature
Because ambient light fills the room, choose a color temperature that suits its use and feels consistent throughout. Color temperature, measured in kelvins, describes whether light appears warm or cool.
For living rooms and bedrooms, choose 2700K to 3000K for a warm, relaxed feel. In kitchens, bathrooms, and work areas, consider 3000K to 4000K for a cleaner, more alert atmosphere.
Match the temperature across ambient fixtures so the room doesn’t look uneven or disjointed. Check bulb packaging or fixture specifications before buying; labels such as “soft white” vary by brand, so rely on the kelvin rating.
Consider wall colors and finishes, too: warm light can deepen reds and woods, while cooler light may sharpen whites and blues. Use this choice for mood enhancement without sacrificing visual comfort.
Layer Light Sources
With color temperature established, layer light sources to provide even ambient illumination across the room. Start with a central ceiling fixture, then add recessed downlights or wall sconces to reduce dark zones and soften contrast. Choose fixtures that distribute light broadly; use dimmable controls to adjust output as daylight changes.
Layer light sources at different heights, but keep their color temperature consistent for a cohesive appearance. Check coverage from seated and standing positions, and aim to avoid glare on screens or reflective surfaces.
In larger rooms, divide ambient lighting into independently controlled zones so you can illuminate only the areas in use. This approach supports Mood enhancement without sacrificing visibility: you can lower overall brightness for relaxing or raise it for conversation and movement.
Confirm that each control works smoothly before finalizing placement.
Add Task Lighting Where You Need It
Task lighting directs focused illumination to areas where you read, cook, work, or perform other detailed tasks. Position fixtures to deliver light onto the work surface without casting shadows from your hands or body.
At a desk, use an adjustable lamp; in the kitchen, place under-cabinet lights above counters. Choose a beam angle and brightness suited to each task, and aim the fixture away from your eyes to reduce glare.
Use Task prioritization to identify where focused light will improve visibility most. Select dimmable, efficient LEDs to match output to the activity and support energy efficiency.
Check color temperature and color rendering: neutral white light often helps with precise work, while a high color-rendering index keeps materials and food looking accurate.
Add separate controls so you can switch task lights on only when needed.
Use Accent Lighting to Add Depth
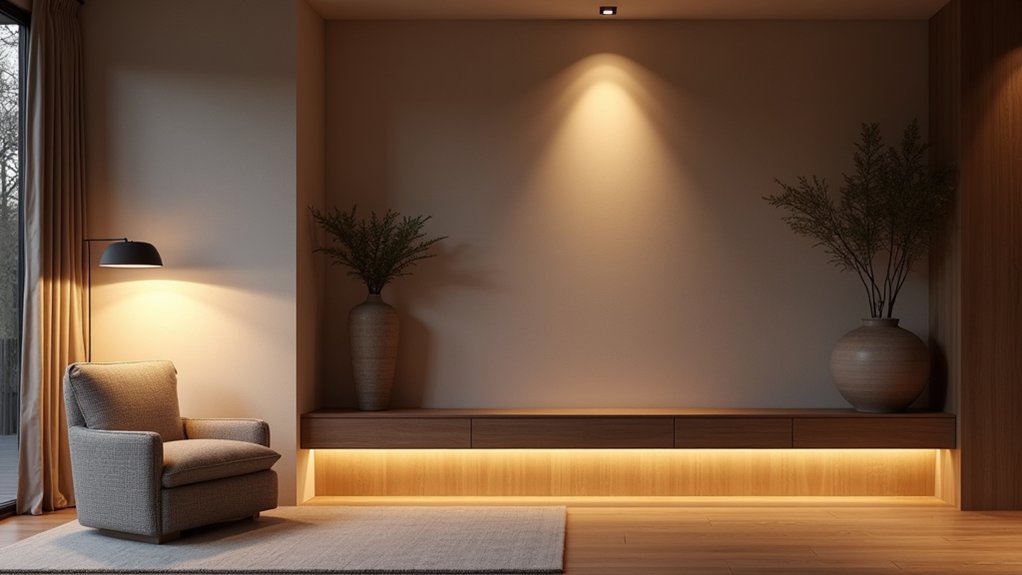
Use accent lighting to draw attention to architectural details such as moldings, niches, and textured walls.
Aim adjustable fixtures to create contrast between lit surfaces and surrounding areas. This contrast adds visual depth and helps you define focal points.
Highlight Architectural Details
Accent lighting gives architectural features a stronger sense of depth by directing light across their surfaces. To highlight a ceiling beam, cornice, or textured wall, position an adjustable fixture so its beam grazes the detail rather than striking it head-on. This angle reveals contours and material texture without washing out the surface.
Choose a narrow beam for a small feature or a wider spread for a long molding. Keep the source discreet, and aim it away from your eyes to limit glare. Dimmable controls let you adjust intensity as daylight changes.
Compare the effect with Natural sunlight, which can shift across the room throughout the day. Decorative fixtures can complement the architecture, but use focused accent light to define the feature itself.
Check shadows from several viewing positions before finalizing placement.
Create Visual Depth
To create visual depth, place accent lights at different distances and angles so foreground objects stand out while background surfaces recede. Aim a narrow-beam spotlight at a sculpture or plant, then wash a farther wall with softer light. This contrast separates focal points from the room’s perimeter and makes the space feel more dimensional.
Use Creative placement to layer light across several planes: mount a picture light above artwork, position a floor lamp beside a chair, or tuck a low-output strip behind shelving. Choose Innovative fixtures with adjustable heads or beam spreads so you can control direction and spill.
Keep accent sources brighter than nearby ambient surfaces, but avoid harsh glare. Test each view from the doorway and seating area; adjust angles until shadows add definition without obscuring details. Use dimmers to fine-tune contrast as daylight changes.
Plan Lighting for Each Room
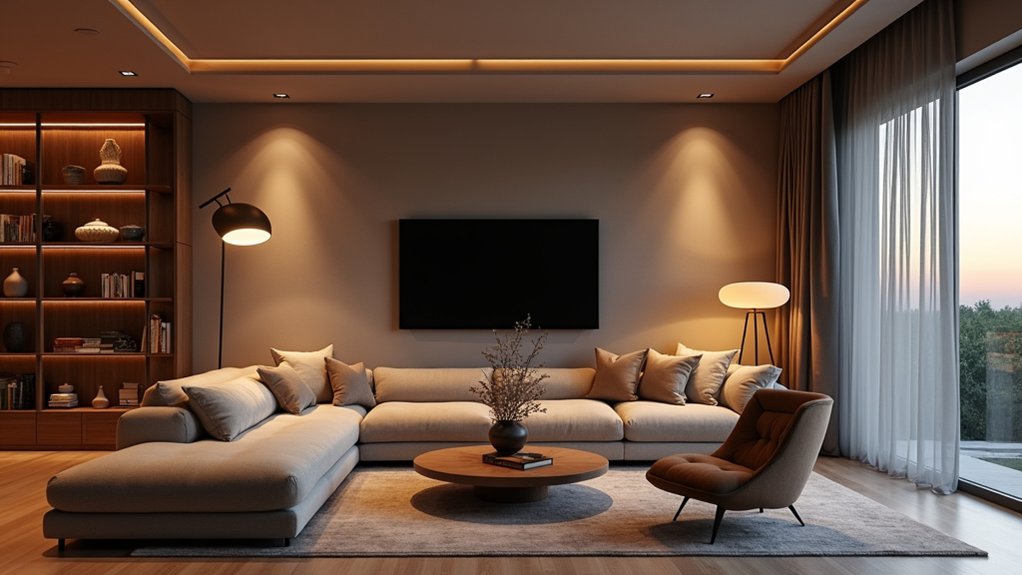
Because each room supports different tasks, plan its lighting around how you use the space. In a kitchen, combine bright, even ambient light with focused task lighting over counters, the sink, and cooktop.
In a living room, layer general illumination with reading lights and decorative fixtures that add visual interest without creating glare.
For a bedroom, provide soft ambient light and adjustable bedside lamps for reading.
In a bathroom, use moisture-rated fittings and balanced, shadow-minimizing light at the mirror.
Choose fixture locations, beam angles, and color temperature to suit each activity and surface.
Use lighting automation to schedule practical routines, such as illuminating entryways at night.
Check that switches sit near room entrances and task areas, so you can operate each layer conveniently.
Match output to room size and finishes.
Adjust Layered Lighting With Dimmers and Controls
Dimmers let you adjust each lighting layer to suit the task, time of day, or desired mood. Put ambient, task, and accent lights on separate dimmer circuits so you can change their output independently. Lower overhead lighting for relaxed evenings, then raise task lights when you read, cook, or work.
Check that every lamp and bulb supports dimming; incompatible equipment may flicker, buzz, or fail.
Smart switches give you wall control and, in many models, app-based scheduling. Automated controls can save scenes that combine specific brightness levels, such as a bright setting for cleaning or a softer one for dining.
Choose compatible bulbs, switches, and control systems before installation, and verify load limits and wiring requirements. Label controls clearly, then test each scene from your usual positions to confirm comfortable, even illumination.
Frequently Asked Questions
How Do I Choose the Right Color Temperature for Layered Lighting?
Choose 2700–3000K for relaxing spaces and 3000–4000K for task areas. Keep temperatures consistent within each zone; use Color matching across fixtures, and adjust brightness for mood enhancement without sacrificing visibility or comfort.
What Bulb Types Are Most Energy-Efficient for Home Lighting?
LEDs lead the efficiency race, sipping electricity while delivering bright, long-lasting light. Choose ENERGY STAR-certified bulbs, match lumens to your needs, and compare smart bulb options, dimming capabilities, and compatibility before purchasing for your home.
How Can I Reduce Glare From Light Fixtures?
Use glare reduction techniques: choose diffused shades, shield exposed bulbs, and install dimmers. Adjust fixture placement so lights don’t shine directly into your eyes or reflect off screens, glossy surfaces, and windows.
Do I Need an Electrician to Install Layered Lighting?
You don’t always need an electrician: plug-in lamps add Ambient accents, while hardwired fixtures may require professional installation. You can install Smart switches yourself if wiring permits, but hire an electrician for new circuits or uncertain connections.
How Often Should I Replace LED Bulbs?
Replace LED bulbs when they dim, flicker, or fail—not on a fixed schedule. Check the manufacturer’s bulb lifespan; your replacement frequency depends on usage, heat, and quality. Most LEDs last 15,000–25,000 hours.
Conclusion
When you layer ambient, task, and accent lighting, you give every room a clear purpose and a little stage magic. Start with even illumination, add focused light for daily activities, then highlight features you want to notice. Choose compatible fixtures, check placement, and use dimmers or smart controls to adjust brightness. Test each scene at different times of day. With a thoughtful plan, you can shift from practical work to relaxed evenings without missing a beat.