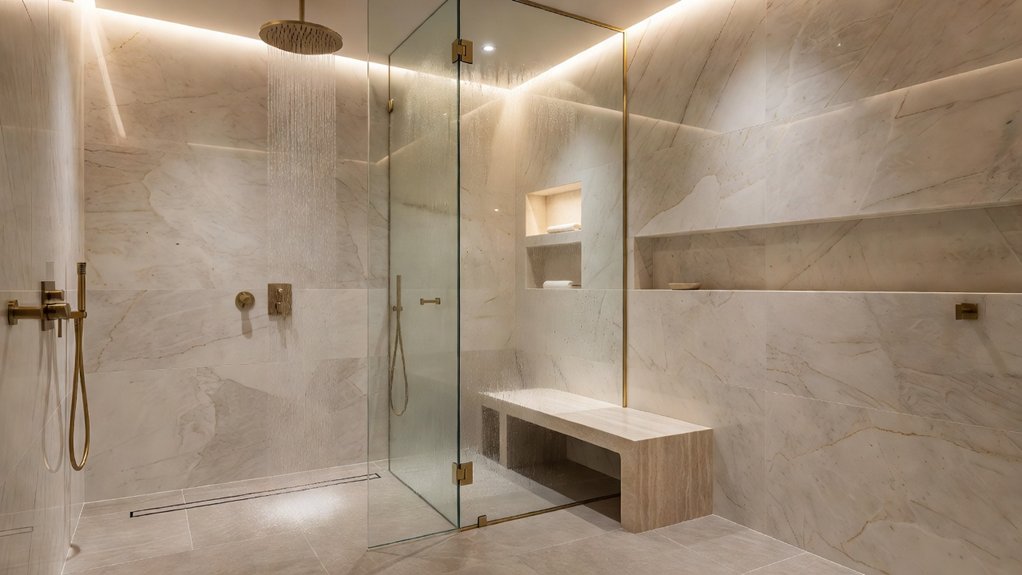
A luxury wet room should feel calm and thoughtfully designed, but its success depends on more than elegant finishes. Before choosing fixtures or lighting, consider your budget, layout, slip resistance, drainage, and waterproofing. Getting these details right can help create a room that’s both practical and refined; overlooking them may affect how well even the finest materials perform. Start by setting the priorities that will guide each decision. For expert help planning your space, you can turn to Property Sisters Interiors.
Key Takeaways
- Prioritize durability, easy cleaning, accessibility, and spa-like comfort. Budget for waterproofing, drainage, labor, plumbing, lighting, and a contingency for unexpected work.
- Measure the room and plan fixture placement, clearances, privacy, storage, and sightlines around the space and existing plumbing. For help refining the layout, homeowners can consult Property Sisters Interiors.
- Choose slip-resistant floor tile and finishes suitable for wet areas. Coordinate the drain location, floor slope, tile layout, and finished floor heights before installation.
- Use a continuous waterproofing system, reinforcing corners, seams, and pipe openings. Confirm that all materials are compatible before tiling.
- Select showers, storage, bathroom-rated lighting, underfloor heating, and ventilation suited to the room. Have qualified tradespeople confirm fixture performance and installation requirements.
Set Your Luxury Wet Room Priorities and Budget
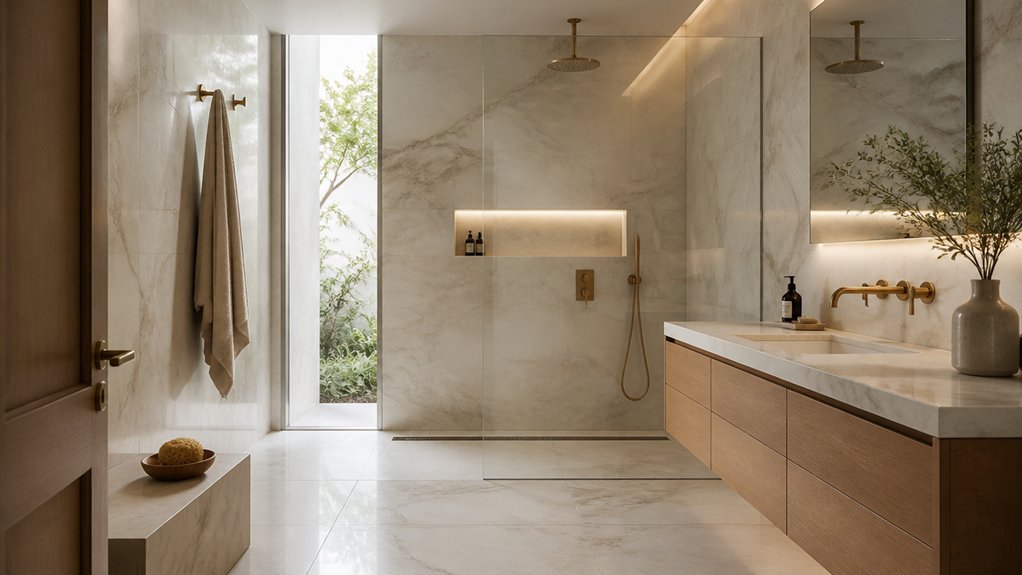
Before choosing finishes or fixtures, decide what matters most in your luxury wet room and set a realistic budget. List your priorities, such as easy cleaning, long-term durability, accessibility, or a spa-like feel. Rank them so you know where to invest and where you may be able to save without compromising performance.
Budget for more than the products themselves. Include waterproofing, drainage, labor, plumbing, lighting, and a contingency for unexpected work. Get detailed estimates and confirm what each one covers before you commit. Property Sisters Interiors can help you compare options and plan your project.
Choose materials that suit both your priorities and the demands of a wet room. Compare slip resistance, maintenance, water resistance, and expected lifespan—not just appearance. Premium stone can create a striking finish, while porcelain may offer a similar look with simpler upkeep.
Select products that fit your budget and your household’s daily needs, and reserve funds for professional installation and quality waterproofing.
Choose a Luxury Wet Room Layout That Fits
Measure the space and note door swings, windows, and plumbing locations.
Choose a layout that fits the room’s proportions and your daily routine, with fixtures positioned to allow comfortable movement and keep water contained.
For help planning your wet room, contact Property Sisters Interiors.
Assess Available Space
A luxury wet room should fit your space without forcing you to compromise how you use it. Measure the room’s length, width, and ceiling height, then note door swings, windows, plumbing, and fixed obstacles. These details help show how much usable floor space you have and where movement could feel restricted.
Think about how you move through the room and which fixtures need clear access. Making the most of the space means planning for practical clearances, not simply fitting in more features.
Check whether the existing plumbing can support your plans; moving drains or water lines may affect the project’s cost and floor levels.
Before finalizing the layout, assess natural light, ventilation, and privacy. A window can brighten the room, but it may require suitable glazing and careful detailing.
Record your measurements and observations, then ask a qualified installer to confirm what’s feasible and flag potential constraints. Property Sisters Interiors can also provide expert help with planning your wet room.
Select a Layout Style
With your measurements and constraints in hand, choose a layout that makes movement easy and suits the room’s proportions. A single-zone design can keep a compact wet room feeling open and spacious.
In a larger room, a partial wall or a change in floor finish can define the shower area without closing it off. Consider how each option affects sightlines, privacy, and the room’s overall balance.
A linear layout can emphasize the room’s length, while a more central shower zone may work well in a wider space.
Keep the design cohesive with a restrained color palette and carefully chosen decor. Consistent finishes help the wet room feel intentional rather than busy.
Choose a style that complements your home and is practical to maintain, and avoid layouts that make circulation feel cramped.
For help weighing your options, Property Sisters Interiors can offer expert guidance.
Plan Fixture Placement
Where you place each fixture affects how comfortably your wet room works day to day. Start by planning the shower, toilet, sink, and storage around the room’s dimensions, door swing, and plumbing connections.
Keep the shower away from the entrance to help prevent spray from reaching the doorway, and position the drain so water can flow to it without crossing dry areas.
A thoughtful layout also makes it easier to move between fixtures, open cabinets, and use the sink comfortably. If you’re adding a freestanding tub, leave access on the sides you’ll need for bathing and cleaning.
Place shower controls near the entrance, where they’re easy to reach but outside the direct spray.
The right layout balances comfort, privacy, and maintenance. Before finalizing your plans, ask your installer to confirm clearances and drainage. Moving plumbing later can add cost and complexity.
For help planning your wet room, you can also reach out to Property Sisters Interiors.
Pick Wet Room Tiles and Finishes
Choose wet room tiles and finishes for safety and durability first, then refine the look. For the shower floor, select textured tiles with a slip rating appropriate for wet areas, and make sure they’re still easy to clean. Smaller tiles create more grout lines, which can help with traction on sloped floors, but they may need more upkeep.
Ask your installer to confirm that each tile is suitable for wet-room use and compatible with the waterproofing system.
For the walls, consider large-format porcelain to reduce grout lines and create a calm, spacious feel. Marble adds natural variation and understated luxury, but it needs the sealing and care recommended by the manufacturer.
Check tile samples in your room’s lighting, since wet surfaces can look darker or more reflective. Before ordering, confirm tile thickness, edge details, and transitions so the finished floor drains properly.
Property Sisters Interiors can help you compare finishes and plan a cohesive design.
Choose Your Shower, Brassware and Storage
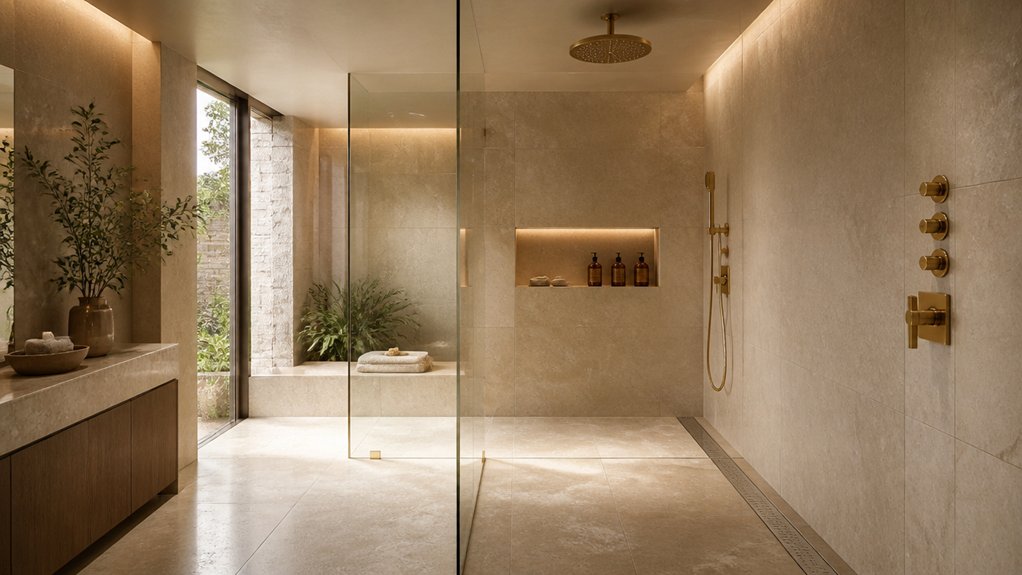
Choose a shower style that works for your space, from a minimalist rainfall head to a versatile handheld showerhead.
Pair it with brass fixtures that complement your finishes and offer dependable performance.
Plan practical storage to keep essentials within reach and countertops clear.
For help choosing the right combination, contact Property Sisters Interiors.
Choose Your Shower Style
Once you’ve settled on the layout, choose a shower that suits how you use the room. A fixed overhead showerhead creates an enveloping spray, while a handheld shower makes rinsing and cleaning easier. Combining both adds flexibility, as long as your water pressure and plumbing can support them.
Choose a shower enclosure only if your design includes a separate, enclosed shower area. In an open wet room, a glass panel can help contain splashes without closing off the space.
Check your water heater’s capacity and your plumbing’s flow rate before choosing multiple shower outlets or a large showerhead. Water-saving fixtures can reduce water use while still providing a comfortable shower, but compare flow rates and confirm they’re compatible with your system.
Position the controls so you can reach them before stepping under the spray, and plan for easy maintenance access. For help choosing fixtures and planning your shower, you can consult Property Sisters Interiors.
Select Luxury Brassware
Choose brassware that complements your wet room’s style and holds up to everyday use. Luxury fixtures can create a striking focal point, but performance matters as much as appearance. Consider how each finish works with your tile and other fittings, and review the manufacturer’s care instructions before you buy.
Brushed brass, polished chrome, and matte black each bring a different look. For a cohesive design, coordinate the finish across faucets, controls, and shower fittings.
Look for solid construction, dependable cartridges, and a warranty that covers regular use. Make sure the fixtures are compatible with your home’s water pressure.
Thermostatic controls can help maintain a steady shower temperature and limit sudden changes. If you have hard water, choose finishes and designs that are easy to wipe clean, and follow the recommended maintenance routine.
Property Sisters Interiors can help you select brassware that suits your space and practical needs.
Plan Smart Storage
With your shower and brassware selected, plan storage that keeps daily essentials within reach without cluttering the wet room. Choose solutions that suit your layout and can withstand moisture. Recessed niches make efficient use of shower walls, while a built-in bench can provide seating and space for towels or bath products.
Place niches away from direct spray to help keep items dry, and set them at a comfortable height.
In a compact room, consider a slim, wall-mounted cabinet with sealed, moisture-resistant finishes. In a larger space, fitted drawers beneath the vanity can hide toiletries and cleaning supplies.
Use dividers to keep drawers organized, and reserve open shelves for attractive items you use often. Check that doors and drawers won’t block walkways or collide with fixtures.
Plan for access, ventilation, and maintenance before installation to keep storage practical and durable.
For help choosing and planning storage for your layout, you can consult Property Sisters Interiors.
Plan the Wet Room Drain and Floor Slope
A well-planned drain and floor slope help direct water to the drain and keep it from pooling or escaping the wet room. Choose the drain location early, taking your shower fixtures, room shape, and tile layout into account.
A linear drain along one wall can work well with large-format tile, while a center drain may suit a smaller space but requires the floor to slope toward it from all directions.
Follow local plumbing codes and the drain manufacturer’s specifications for the required slope. Plan the transition to the dry area carefully so water flows away from the doorway.
Before construction, coordinate the drain height with the subfloor, tile, and grate thickness. Once installed, the finished floor should drain smoothly, without abrupt changes underfoot.
For help coordinating the layout and details, consult a qualified installer or get expert guidance from Property Sisters Interiors.
Waterproof Your Wet Room Before Tiling
Before laying tile, create a continuous waterproof barrier across the wet room’s floor and walls, including corners, seams, niches, and pipe openings. Choose a system suited to your substrate, such as a sheet membrane or liquid-applied waterproofing, and follow the manufacturer’s instructions. Tile and grout alone won’t keep water out; moisture can pass through and damage the structure.
Start with clean, sound surfaces: remove dust, grease, and loose material, repair cracks, and apply primer if the system calls for it. Use compatible tape or collars to reinforce corners, joints, drains, and pipe openings, and overlap membrane layers as directed.
Preserve the planned slope toward the drain so water can flow freely. Let the waterproofing cure fully, then check for gaps or missed areas before preparing for tile installation. If you’d like expert guidance, Property Sisters Interiors can help.
Add Lighting, Heating and Ventilation
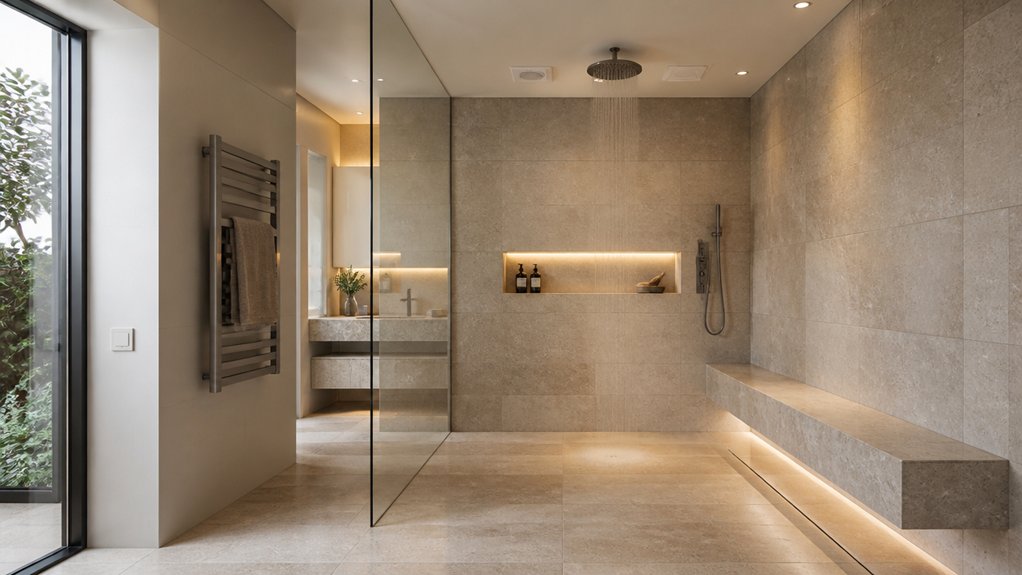
After the waterproofing has cured, plan lighting, heating, and ventilation to keep your wet room comfortable, safe, and easy to maintain. Choose sealed, bathroom-rated fixtures with an appropriate IP rating for each zone, and have a qualified electrician install them. Layer ambient lighting with task lighting near the mirror, and use dimmers where suitable to adjust brightness without glare.
Underfloor heating warms tile evenly, helps splashes dry, and avoids bulky radiators. Confirm the system is compatible with your floor assembly, and place the thermostat where it won’t be exposed to direct heat or moisture.
Choose an exhaust fan sized for the room, with ductwork that vents outdoors. Position it to remove humid air effectively, and connect it to a timer or humidity sensor. Keep vents clear and check the fan regularly to help limit condensation, mold, and moisture damage.
For help coordinating these choices with your wet room design, consult Property Sisters Interiors.
Frequently Asked Questions
Can a Luxury Wet Room Increase My Home’s Resale Value?
Yes, a well-designed luxury wet room may boost your home’s resale appeal, particularly for buyers seeking a modern, accessible bathroom. The impact on value depends on the quality of the renovation, local buyer demand, and overall cost. Choose durable finishes and professional waterproofing to help protect your investment. For expert guidance, contact Property Sisters Interiors.
How Long Does a Luxury Wet Room Installation Usually Take?
A luxury wet room installation typically takes two to four weeks, depending on the room’s size, waterproofing needs, and finish choices. Clear plans, materials on hand, and experienced tradespeople can help keep the project on track. Hidden damage or supply delays may extend the timeline. For expert guidance, contact Property Sisters Interiors.
Do I Need Planning Permission to Install a Wet Room?
You typically don’t need planning permission to install a wet room inside your home. However, building codes, permits, and plumbing requirements may still apply. Check with your local building department before work begins, especially if the project involves a historic or landmarked property, structural changes, or drainage alterations. Property Sisters Interiors can help you understand the next steps.
How Can I Keep a Luxury Wet Room Clean and Hygienic?
Keep your luxury wet room clean by rinsing surfaces after use, wiping away standing water, and cleaning regularly with products suited to your finishes. Give grout and drains extra attention, ventilate the room well, and disinfect frequently touched fixtures. For tailored cleaning and maintenance advice, contact Property Sisters Interiors.
Is a Luxury Wet Room Suitable for Children or Older Adults?
Yes—a luxury wet room can work well for children and older adults with thoughtful safety and accessibility features. Choose slip-resistant flooring, install securely anchored grab bars, and consider a thermostatic shower valve and handheld showerhead. Keep pathways clear, and supervise children during bath time. For help planning a safer, more accessible wet room, contact Property Sisters Interiors.
Conclusion
A luxury wet room is more than a collection of beautiful finishes—it’s a carefully coordinated system. Start by setting your priorities and choosing a layout that works for your space. Then plan the tile, fixtures, drainage, waterproofing, lighting, heating, and ventilation together, before installation begins. Each choice contributes to lasting comfort and performance. With thoughtful planning and skilled workmanship, you can create a private retreat that works reliably every day. For expert guidance, Property Sisters Interiors can help you bring the details together.